Craig (Grey Knight Chapter Master) otherwise my opponent had...
Lord Kaldor
1x 5 man Terminator Squad
1x 5 man Paladin Squad
2x Grey Knight Strike Squads (ten man each)
1x Venerable Dreadnought
1x Storm Raven
Here's what I brought
Master of the Forge
1x 10 man Scout Squad
4x Tactical Squads with Rhinos
3x Dreadnoughts
4x Landspeeders
3x Predators
Mission: Seize Ground Deployment: Dawn of War
Okay, so I know I have been stressing about deployment tactics but I have none yet for Dawn of War (now I do ). I was ready for spearhead and pitched battle, but oh well. Here's how deployment looks like.
My deployment: I got one Sniper scout squad and a Tactical Rhino. I got first turn and I'm ready for the rest of my stuff.
Here's Craig's: Here's Kaldor and two Strike squads on the ready. Now this area was key for the whole game. I wanted to move in and force him into a corner and keep him there. Let's see if I succeed...
Here's where the objectives are... and there's three. The tiny ruined shelter for a hobo, a base with bits, and a chest that looks like a grave, or leads to steps where a cemetary lies beneath the battle (think catacombs). You decide.
So I figured most of the battle would be centralized where the knight squads were and I really wanted to keep it there. My army focuses on the midfield so my goal was to keep the battle there and not spread around the table. I know Grey Knights excel midfield (all those 24- 36 in shots!) and well I have a midfield army too. So from the get go I have a bad matchup. Let's see if this costs me...
So turn 1 I know was uneventful in terms of killing and man slaughter in combat but this opportunity for night fight helps me get into position to unleash shots later on. I'm counting on it to protect me so I got a WWII bunker line stretched to move out turn 2.
Deployment: Here's everything lined up. Preds are near the scouts and are positioned to the Knight side of the table. Dreads grab cover and Rhinos are in position. Remember the part about the man slaughter? Well I forgot about the speeders.
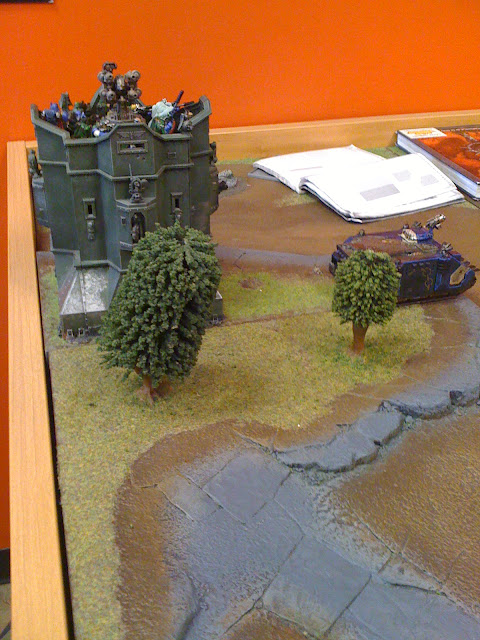
The Preds have a good position on both objectives. Tactically, deployed where I want them to be. They do not move at all except pivot so imagine 3 tanks firing in the backfield, WWII style.
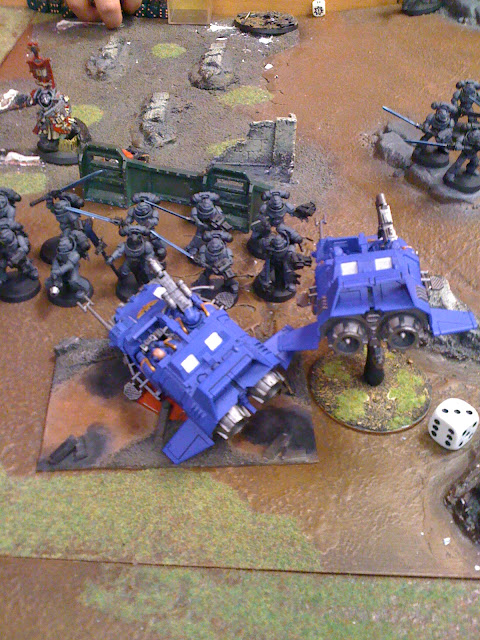
I want to be sure my Rhinos don't die to psycannons so I want my Speeders to soak up the shots. Remember, first turn is key for me since I need my Rhinos to at least survive first turn. I need my mobility. They turboboost up and get ready to die. This is the first key of keeping my opponent in that corner.
One speeder dies from squadron 1, creating difficult terrain for his army to walk through, and granting cover saves but who cares? Not me. As long as I draw LOS I am still going to shoot you. Preds will still fire and don't care.
Squadron 2 dies immediately but again I don't care. Those are shots not going to my troops, dreads, and preds.
This speeder loses a multimelta and will go hide for awhile. to try and contest turn 5.
I shot up some guys from both squads. Most of the shots went to the first squad on the objective. My conversion beamer from the MOF did not miss and killed a few from this squad above.
This squad ate autocannons, heavy bolters, bolters, and multimeltas. They move up to grab cover and weather the storm. The Paladins, Venerable, and the Storm Raven come in 2nd turn as we roll up.
Here are the Terminators. The Paladins are in the Storm Raven.
I move up two Rhinos and my Dreadnoughts. One dies from the Storm Raven.
Knights hug cover to intercept my forces.
Kaldor is hugging cover too. The knight squad that was behind here moved after being shot up.
He looks nice but with a storm shield, it is questionable to be behind cover isn't it?
Next turn or so rolls by and I shot up the knight squad again with a conversion beamer and I hit again on scatter. S10 AP 1 heavy blast is hard to pass up. And it's 72 inches!
The Knight squad on the objective is hard to remove all game. Even with Preds, But now I gotta take that stupid Storm Raven out and blast it out of the skies. Autocannons hit it and do nothing but shake it. Multimeltas on my Tac and Dreads are too far from the Storm Raven! Arrgh!
Here I have to reorganize After knowing how everything came in 2nd turn. I thought Craig would open another front on my left flank, but he took the bait and followed right into my plan. I kept a Rhino and some Dreads near my Preds to protect them from those deepstrikers, but oh well. He used Kaldor's teleport homer to bring everything near him. I deploy my Tac squad on the left in the picture and spread them out to get near an objective and to protect against the twin linked plasma cannon on the Storm Raven.
The 3 man Knight squad continued to hide, but behind the empty Rhino because the Storm Raven.
Kaldor reunites with his Paladin squad that came from the Storm Raven.
Here are the Terminators and the Dreadnought. The Terminators get ready to board it.
Here are the Preds and the Tac squad going for an objective. If the Storm Raven comes, it's getting mulitmelted.
Here Mr.Dread previously used a Rhino as cover but it gets a weapon destroyed from the Storm Raven.
The Rhino here, dies as well from a psycannon from the three man knight squad behind the first wrecked rhino.
That bloody Storm Raven needs to go.
These knights need to go to. Mr. Dread comes and says hi.
Turn 4 rolls on by and things start heating up as the Paladin Squad nears my forces.
Mr. Dread came and ate one knight. Now they started running away. But no worries. 2 die as the conversion beamer hits them on the scatter again.
The dread loses an arm but can still pack a punch.
This dread is immobilized after being shot in the back by a Storm Raven.
These guys wrap around an objective. while a speeder from before moves on out.
Theses guys get shot up by Kaldor and friends.
This squad pops the Storm but will die in the process.
My marines move to the side and flank Craig.
Kaldor and his squad move on top of the wreck and get ready to seize.
I needed my speeder to survive but it dies and fails to contest.
My guys solidify their position...
Here's that assault. The knights couldn't kill it because of their strength. Who says Dreads aren't good? They still scare assault armies.
That stupid Storm Raven finally fell to its knees. But out came trouble. Terminators munch these guys up. A spare Dreadnought goes up and gets killed too.
I moved up another tac squad to seize an enemy controlled objective as a Dread stalls Kaldor and his Paladins and the Terminator Squad. The Dread above was immobilized either from a psycannon from a strike squad.
Kaldor and his Paladins shot up the Tac squad and I used combat tactics to fall back and hopefully contest my objective that was destroyed of its marines by termies.
See? These guys die after shooting and assault. The Venerable Dread comes from the Storm Raven and chews up marines from a Tac squad to the right and past this picture. It did lose a weapon previously from a multimelta though.
So, in the end, what happened? Well overall the battle was great. I had fun, Craig had fun, we both had positive things to say about our armies, and it was just a great game with great sportsmanship. At the end on turn 5, we never rolled to see who won. We decided to call a draw. A dreadnought was still next to the chest objective and contested against the Terminators. Kaldor and his Paladins could've assaulted it but Craig forgot to declare and assault on it, by the time the terminators assaulted. Either way we both decided to call it because I needed to leave since the store was going to close. So until next time...seeya! Next post will be about analysis on this battle. Till then, I need to go paint my stuff more.


No comments:
Post a Comment